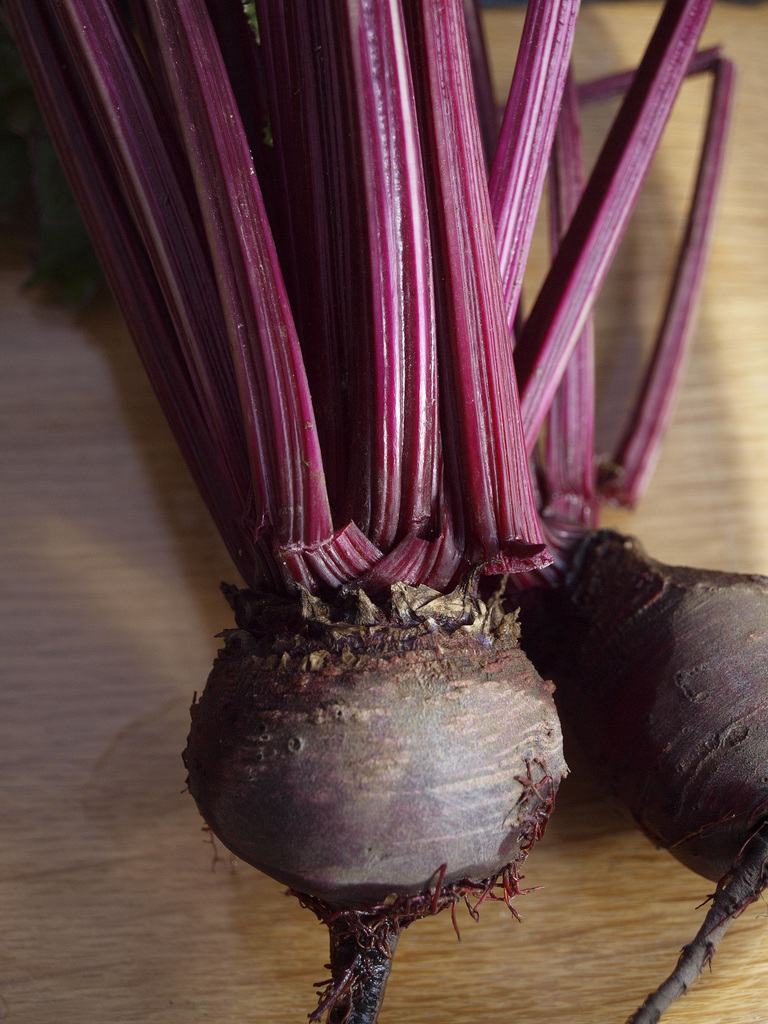
Plant Garlic, Onions, Shallots.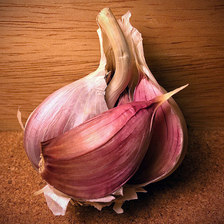 It's not too late to get these totally invaluable crops planted in your garden.
Most folks go for an autumn plant out on these things, but you can still get away with doing so right up until the end of February; especially in the South of England, where I am fortunate enough to be. GARLIC - 'Christo' & 'Flavor' I have found to be the most reliable to still form decent sized bulbs from a February plant out. ONIONS - A good variety of sets are available in garden centres now for 'spring' planting. I like 'Stuttgarter Giant' and 'Sturon' - both seem good at not bolting. 'Red Baron' seems to be bolting on me more in recent years, despite heat treatment of the sets, so I am trying 'Marshall' this year which came out highly recommended in recent RHS trials. SHALLOTS - I'm a fan of the longer french style shallots, over the round ones, which are a fiddle to slice. 'Longor' and Jermor' did very well for me last year, in fact, I've just used the up last of them so must remember to plant a few more this year!
1 Comment
 Banana, Cinnamon & Vanilla Greek Fro-Yo
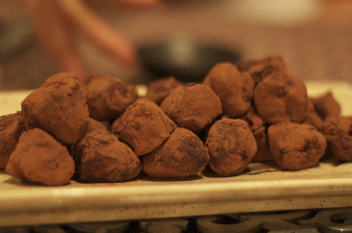
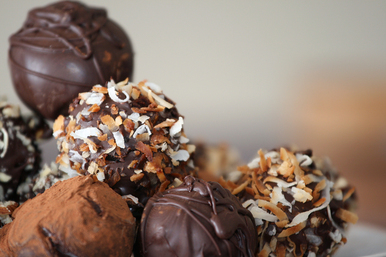 These Truffles are SO easy and SO delicious that you may not ever need to visit Hotel Chocolat again! The luxurious combination of smooth cognac and almondy amaretti biscuits is a Christmas in a mouthful. Special enough to give as a gift... Moreish enough to keep for oneself... Well it is Christmas... Super Easy Recipe Instructions - Makes about 4060g Unsalted Butter 250g 70% Dark Chocolate 125g Double Cream 2 tbsp Cognac/Brandy/Dark Rum 150g Amaretti biscuits, crushed. (Retain a little for decorating)
Super Fun Decorating Bit40 x cocktail sticks, plus half an apple/grapefruit, cut side down on a plate to stick in to, 100g each of Milk and White Chocolate - melted 10g approx Amaretti Crumbs (in a ramekin) And anything else you'd like to use to decorate; Cocoa powder; nibbed hazelnuts; a few strands of coconut; freeze dried fruit powder... Experiment! It's the only way to find new flavour combinations.
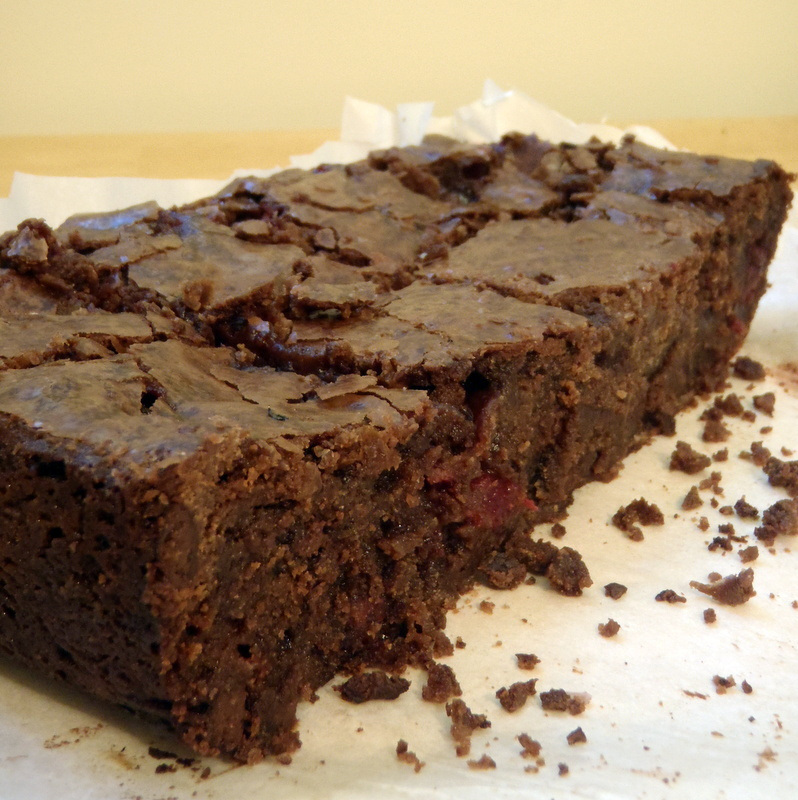
Who can resist buttery, crisp pastry, filled with soft and scented vine fruits, all served up with a good dollop of clotted cream..? Not ME! And really, why would I want to? A Potted History of the Pie... Mince pies have been around since the 13th century, when European Crusaders returned from the Middle Eastern with the recipe, originally containing minced meat, fruit and spices... 13 ingredients in total, said to represent Christ and the 12 apostles. Fortunately, someone along the way thought it might be better without the meat! So we have today the utterly indulgent Christmas treat that we know and love. 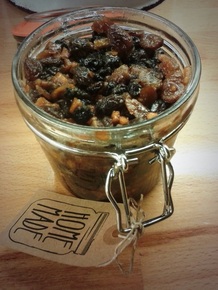 For the Mincemeat I use Delia Smith's Mincemeat recipe - good ol' Delia - but I substitute the suet with with same amount of butter; a) Because its tastes nicer, and b) Because means its vegetarian friendly. When I come to make a batch of mince pies (x12) I take 400g and add to it;
For the Pastry
 Don't they look pretty! A Little Note... You will have some pastry left over... Make a simple Individual Apple Tart with the other half of the chopped apple. Slice it thinly, place in layers on the pastry and sprinkle with sugar and nutmeg. Bake 20 mins. Tis the Season to be Jolly Tra la la lala, La la la la...
What you do;
That's it! The oil will get hotter over time, but should keep perfectly well for at least a year.
 Lovely Jubbly Compost
What to Compost and NOT! A few simple rules, plus some hints and tips. Ingredients From the garden; Everything except nasty perennial weeds and large branches. From the kitchen; All (uncooked) fruit and veg scraps; (except citrus) tea bags; coffee grounds; non glossy paper products. Try not to let one material dominate the heap. Like a cake mixture, you want a good mix of wet and dry; soft, green, nitrogen rich material and dry, brown, carbon rich material. Method If you are starting from scratch, place more woody material at the bottom so it aerates the pile and has most weight and heat on top of it to help with the breaking down process. Its obvious, but smaller pieces will break down far more quickly, so its worth chopping larger twiggy bits and tearing up newspapers etc. Keep adding to it at regular intervals. Once the bin is full, or the pile is high enough, leave it for a month or so, where it'll get nice and hot and start really breaking down. After this initial stage, its good to get in there with a fork and give it a good mix up, If its dry, get a watering can and give it a good soaking. The more regularly do this turning and mixing, the quicker you'll get your end result. Choose a nice cold winters morning and you'll have a good glow in your cheeks by the end. Who needs the gym! In ideal conditions (warm and damp) and with regular turning (once a month) you can have a lovely ready-to-use pile within 6 months. Further Notes With larger gardens, the ideal set up is to have 3 compost bins going.
|
Categories
All
Polly's PostsIn addition to The Archives
August 2019
Categories |


 RSS Feed